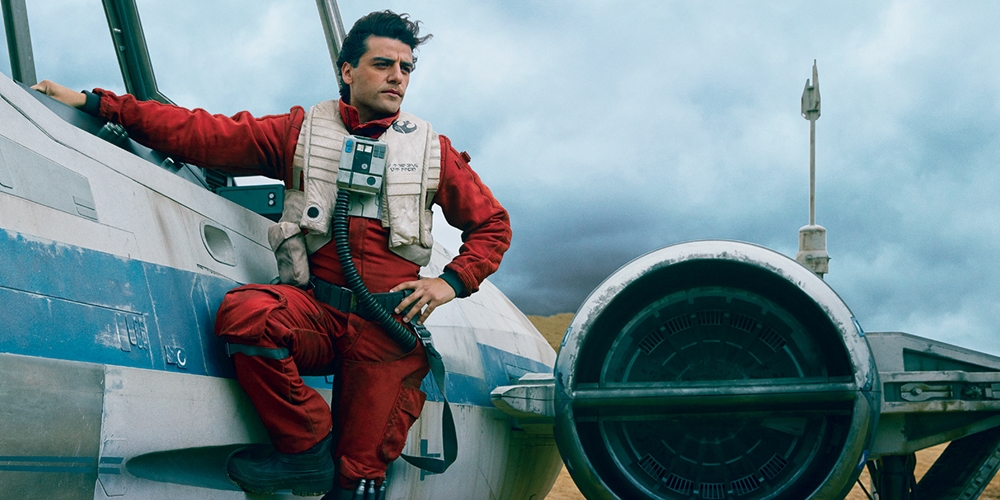
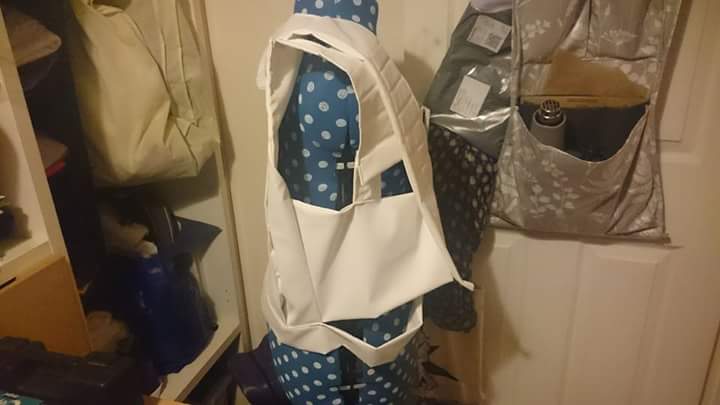
 I was commissioned by a friend to make the white life vest for a Poe Dameron/Resistance Pilot cosplay. It proved challenging but thankfully my client provided the most in depth reference material I've ever received and even provided the fabric! :D 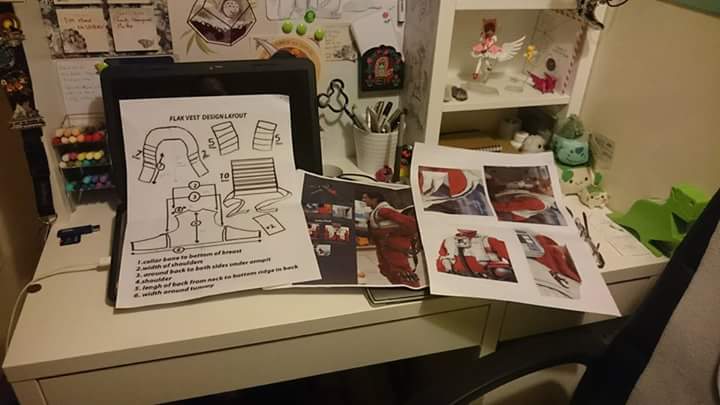 The key was to make the vest in 5-6 seperate elements; - The main body, which was the back and sides - the collar - the 2x chest sections (that go underneath the collar) - 8x strips of fabric (to attach the chest sections to the shoulder and waist) - and the back square with belt 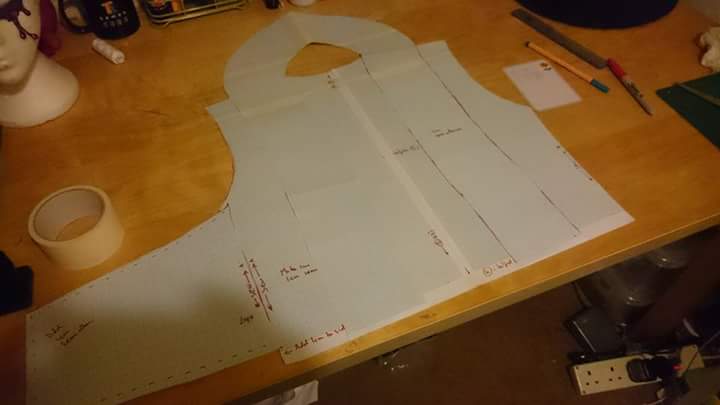 with graph paper I measured everything out to create my own template. As I couldn't really find a sewing pattern close to this design, I ended up making the whole template from scratch. There was a lot of math involved lol ლ(ಠ_ಠ ლ) 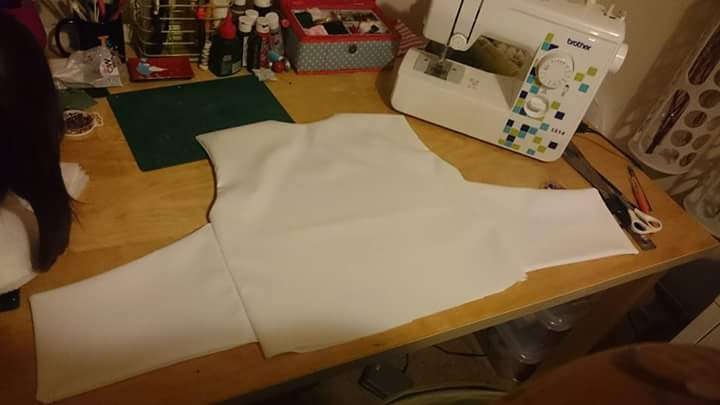 Once I had everything measured, actually making the vest came fairly naturally to me. The material was of an off white matte vinyl that was fairly easy to sew with and didn't fray. I started with the main bulk of the vest which was the back and sides.
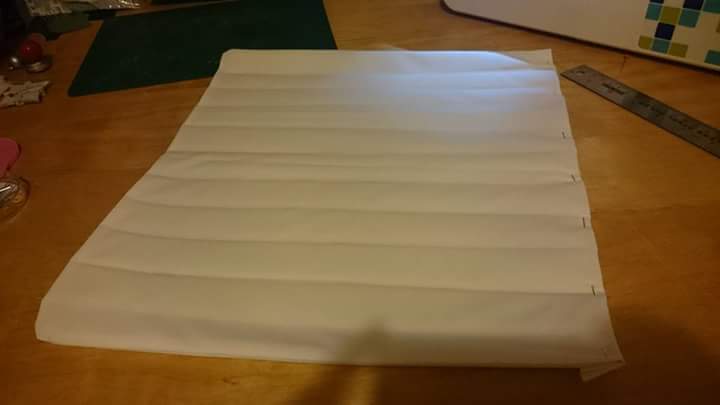
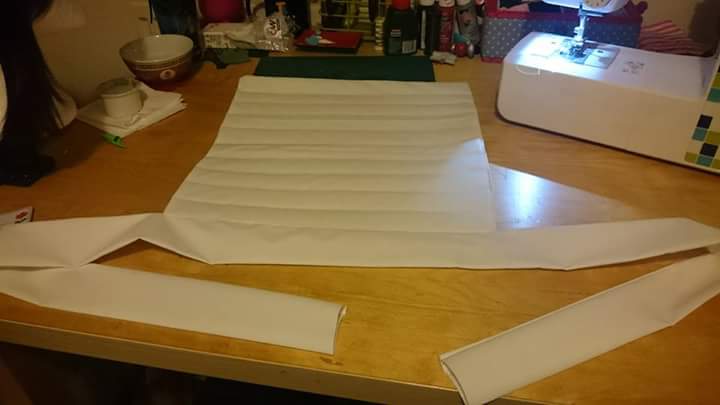
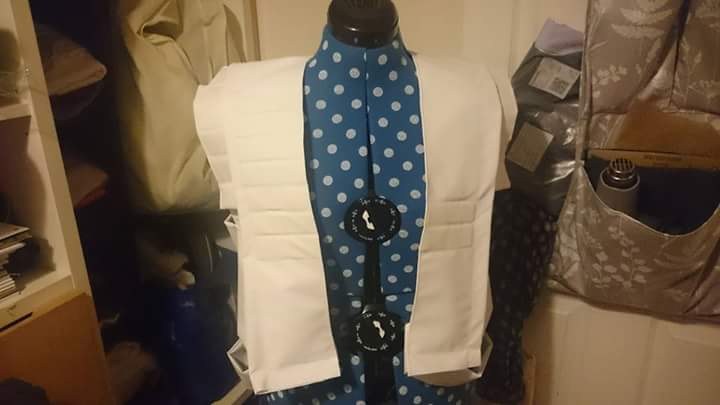
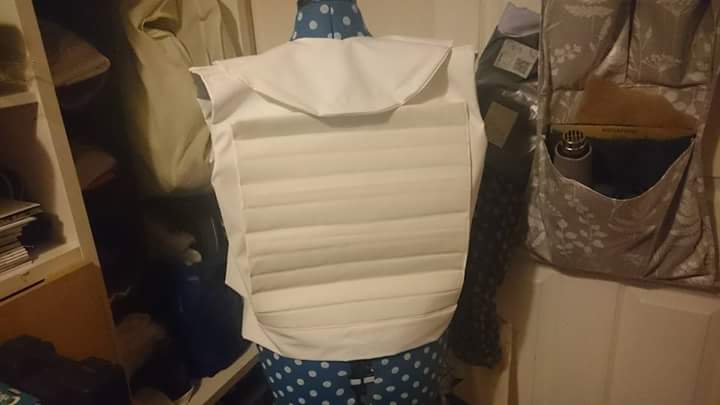
The back square, which was to be sewn on top, was made creating 10x channels across, leaving an opening on one side to insert thin EVA foam. This created the thicker, puffier effect of the life vest. The belt was sewn onto the bottom and would wrap around the front when complete. 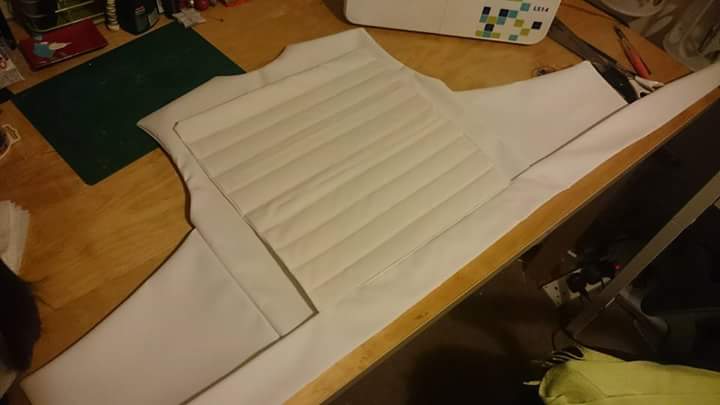 The square was then sewn onto the main body. Starting to look good all ready (^▽^) 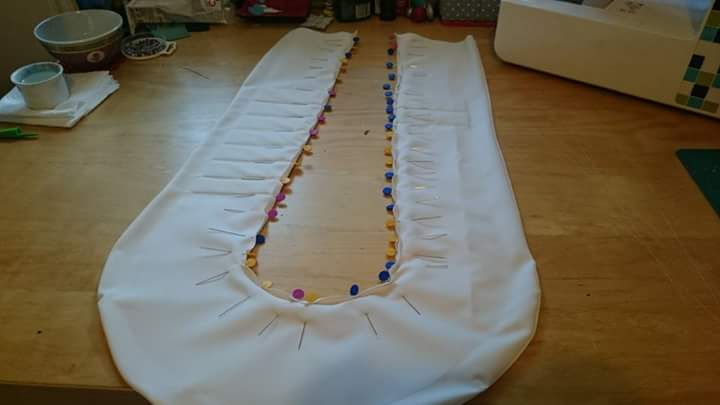 The collar was perhaps the trickiest to get right. I wanted it to be one continuous piece of material, so getting the shape and the curve right was crucial. I began by cutting two sections of material and placing on top of each other right sides together. Then I sewed the outer edges together. Turning the fabric inside out so the correct side was showing, I pined the inner edge but made sure I had created my channels either side for the detail (7 down the right, 2 on the left). The channels had 2-3cm gap from the outer edge and a seam was created around the collar to allow tubing/wadding to be inserted to create the round edge. I then inserted foam into the channels and proceeded to sew the entire edge closed. 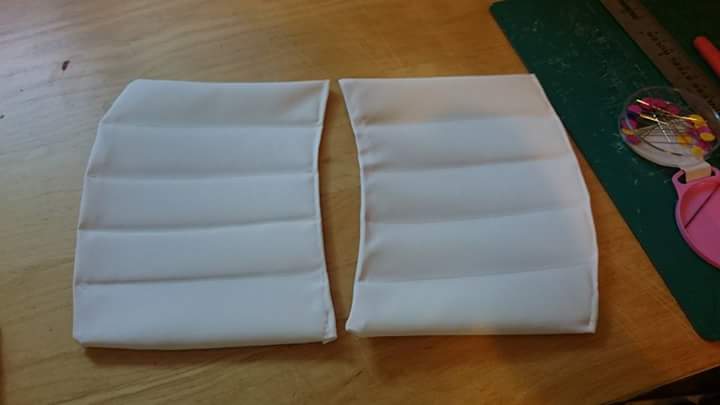 Similar to the back square, these chest pieces would sit underneath the collar and were made with foam inserts to create a thicker appearance. Not pictured but 4x strips of the same fabric were sew onto each piece so they could be attached at the shoulder and to the waist (on the back piece).
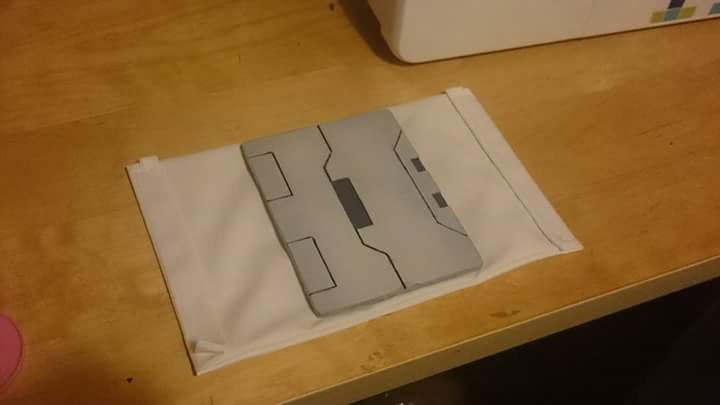
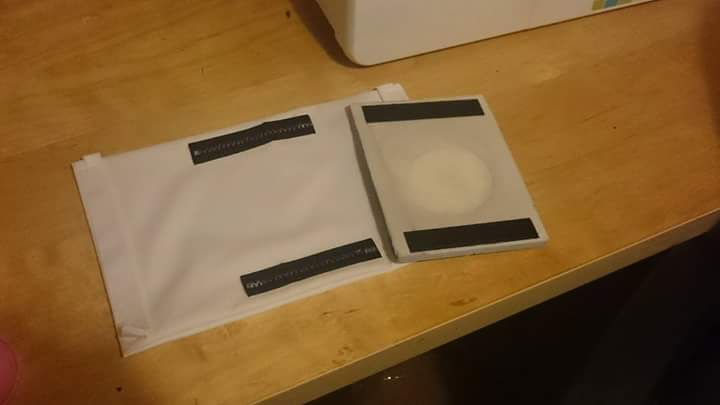
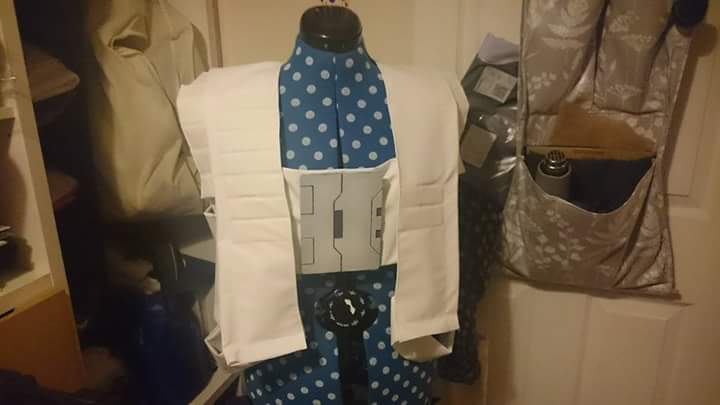
This buckle/plate was provided for me to attach to the vest. I glued Velcro to one side of the plate and onto a square flap I made with the remaining fabric. This would allow the client to remove the plate from the vest for easier storage/travelling. 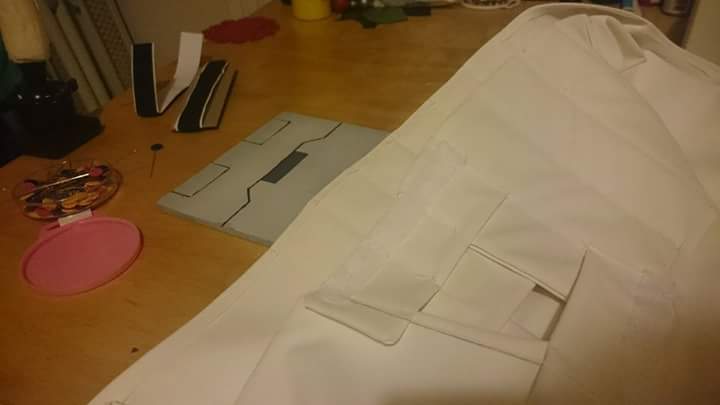 white Velcro was then sewn to the inside of the straps, connecting the chest pieces to the waist. The plate flap could then be connected to the inside and sit comfortably on the chest of the client. By doing this, the client would be able to remove the Velcro plate/flap and then slip the vest off like a coat, without the need to pull it over the head. The vest was done.
Weathering and the final little details, such as symbols and text was added after. The final result is very cool 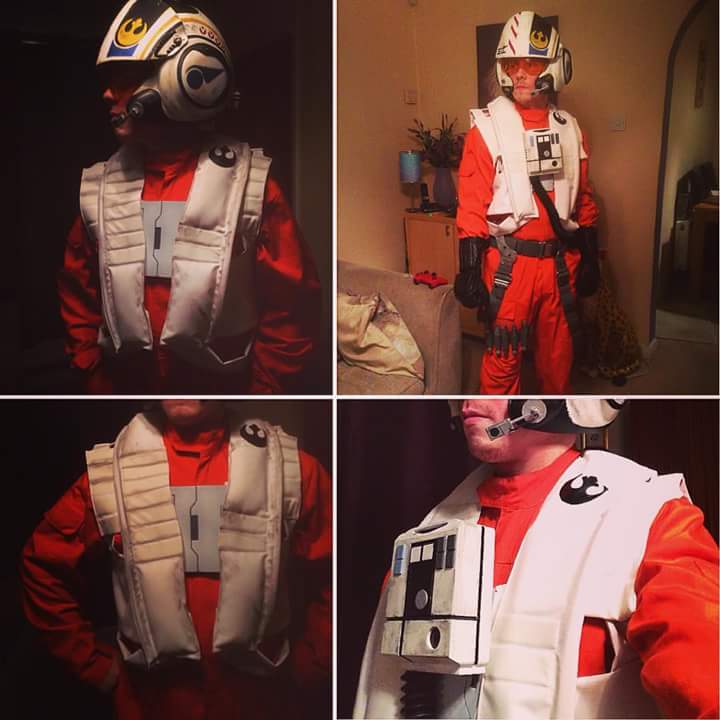 Thanks for reading!!Hoping to make tutorials a regular thing on here.
Big thank you to everyone so far who has visited and enjoying the website. Remember you can follow me on various social media - just follow the links on the right ta for now <( ̄︶ ̄)> Lisa xx
6 Comments
4/7/2022 05:21:14 am
What an exquisite article! Your post is very helpful right now. Thank you for sharing this informative one. 12/20/2022 06:11:24 pm
İnstagram takipçi satın almak istiyorsan tıkla. 1/7/2023 10:50:57 pm
100 tl deneme bonusu veren siteleri öğrenmek istiyorsan tıkla. 6/29/2023 07:23:19 pm
En iyi aksaray ilan sitesi burada. https://aksaray.escorthun.com/ Leave a Reply. |
Hello!So many projects, So little time... Archives
January 2017
Categories |
 RSS Feed
