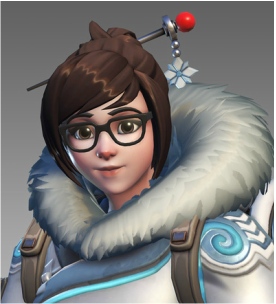
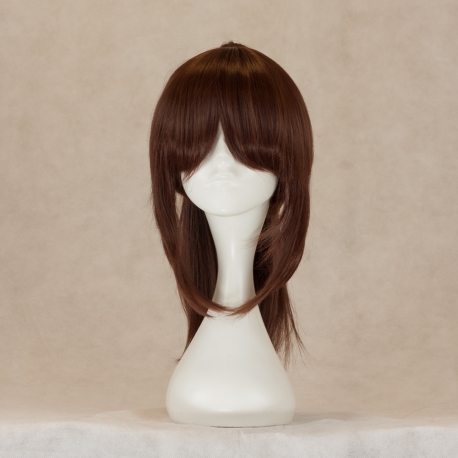
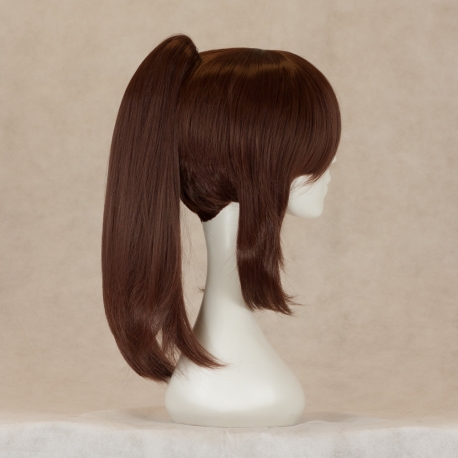
In the end I settled for a Sasha in rich dark brown with matching wefts from Coscraft The back of the hair was perfect to create a faux bun and needed very little trimming. The bangs were a perfect length to trim and shape. The pony tail is a clip on, which I put away for a later cosplay :P 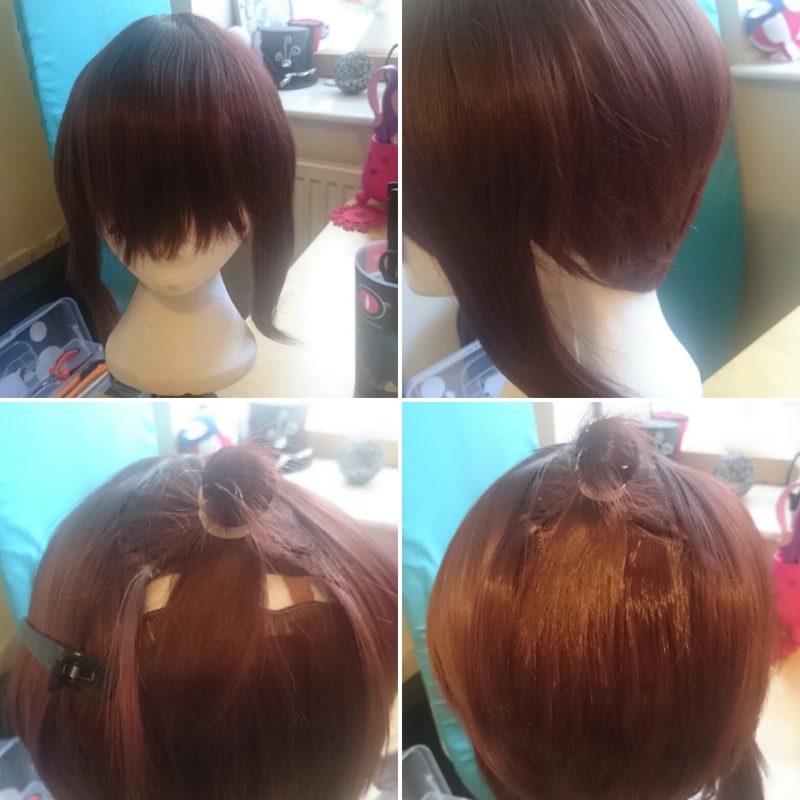 On the base of the wig I made a tiny pony tail tuft to glue the bun onto. as you can see this cause a lot of gaps in the base, which would expose the scalp. Using the wefts I covered the holes, sewing and glue into place until the scalp was covered 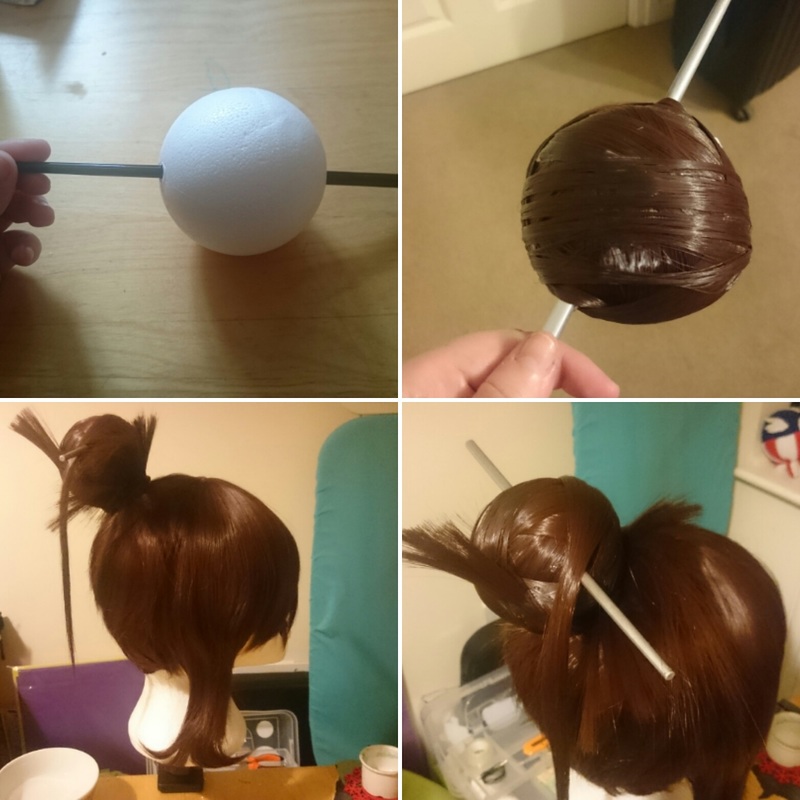 I bought a medium-small sized polystyrene ball from the hobby shop carefully cut a hole in the bottom, to create a space to stick it to the wig base. I then carefully forced a chopstick through the polystyrene ball to create the base for Mei's hair pin. Next I painted the ball brown so no white could be seen after applying the wefts. The wefts themselves were glued in strips, following the contour of the ball, untill it was completely covered (making sure I didn't cover the hole on the bottom) I glued the bun onto the tuft and once secured, I added wefts to the base of the bun to wrap around, creating the illusion that the bun was apart of the base. I added little tufts at the front of the bun to recreate Mei's sticky up bits. 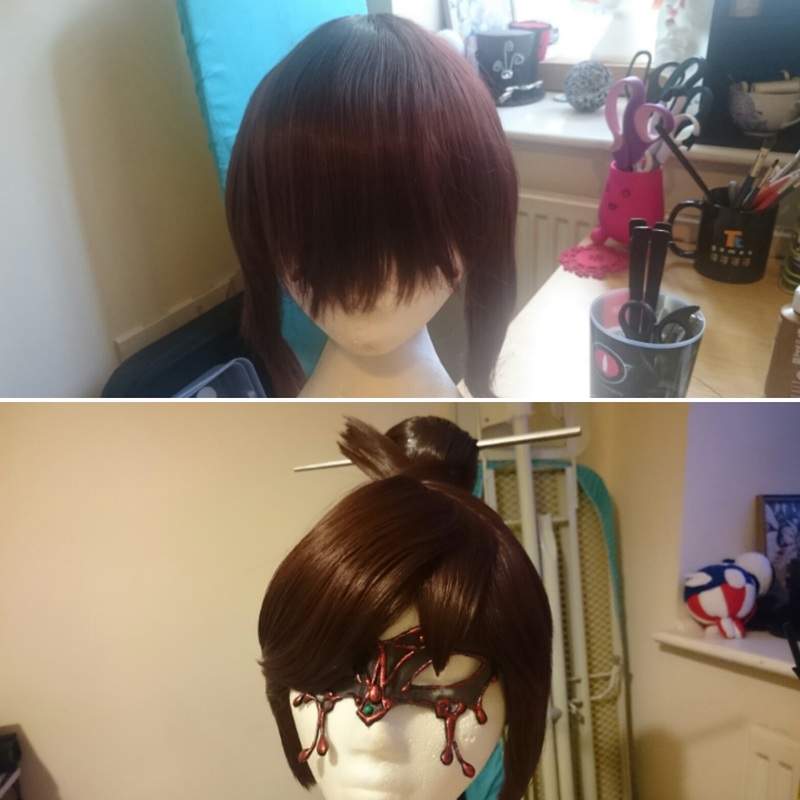 Like styling hair, the bangs took precision and patience. Cutting vertically, I slowly chopped away sections at the sides to get the right length. The front was sectioned into 3 parts; the main chunk on the right, the pointed bit in the middle and a little chunk on the left. These again were cut vertically to shape and length and then hair sprayed with Got2B hairspray into place.
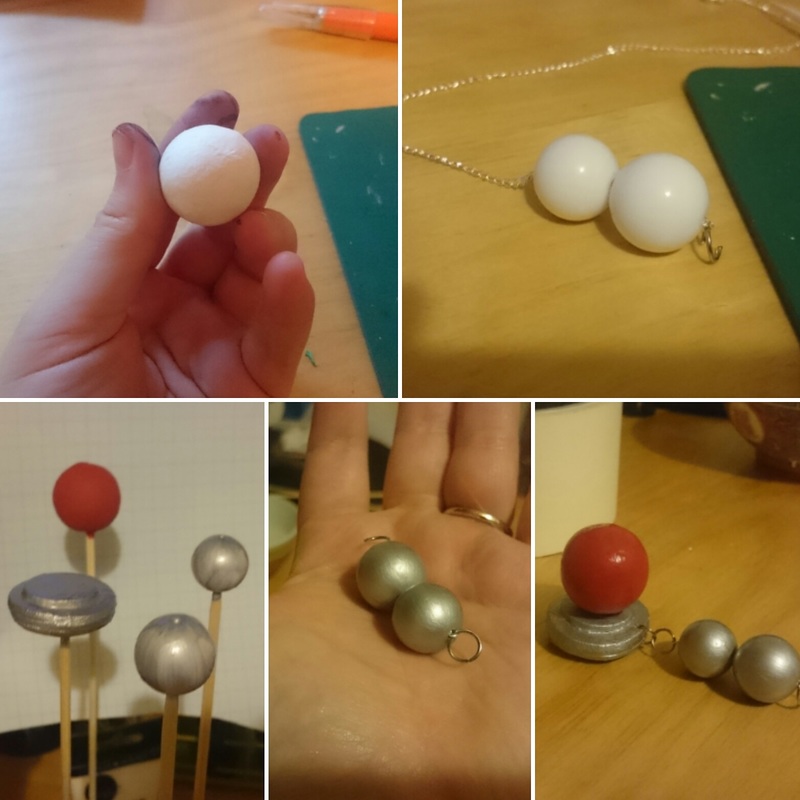
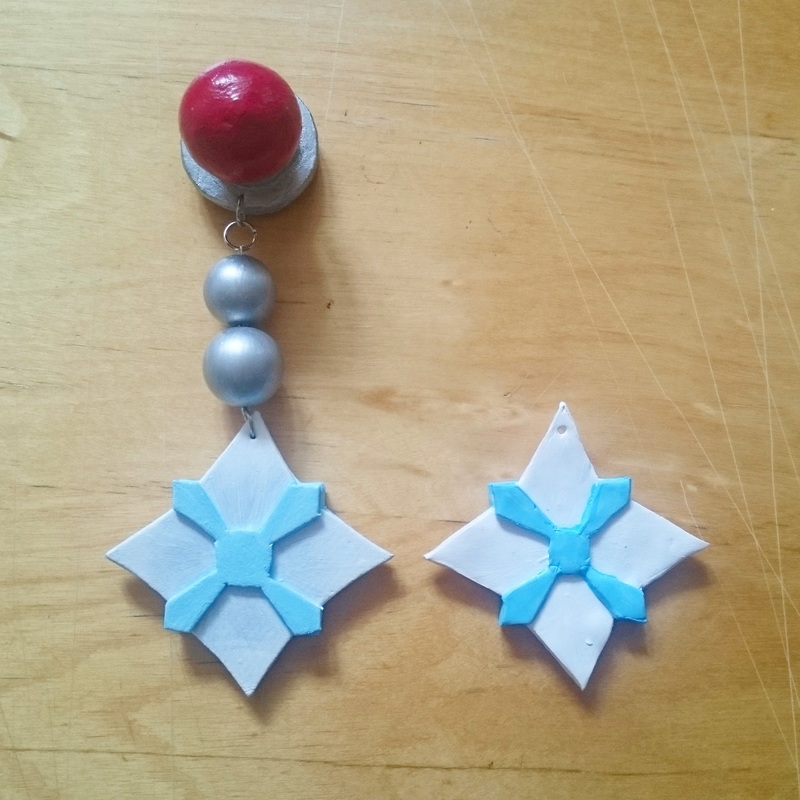
I wanted to get Mei's charm as identical as I could to the reference. This meant taking some existing beads and painting them silver, threading them through some necklace chain and using jump rings to seal the ends. The "UFO" bit was made with EVA foam, glued, stacked and sanded, then primed and painted with the same silver paint. The red ball was just a foam ball used for model miniatures that I painted red and gave a few coats of wood glue to make it shine. The rest of the silver sections were then all attached and finished with a gloss varnish. The star was first made with sculpey light, but I was so unhappy with the finished result, I had to redo it. This time I used EVA foam, which made it much lighter and I was able to get a more accurate cut. This was then primed, painted and sealed with a varnish coat. Everything was then attached using the jump rings and then attached to the chop stick. The wig was finished!! 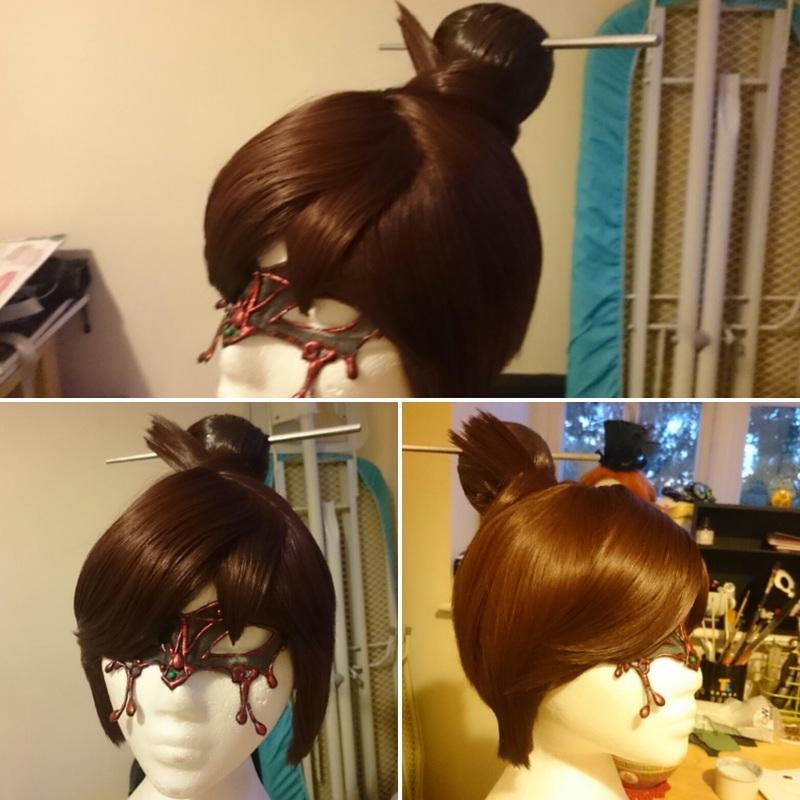 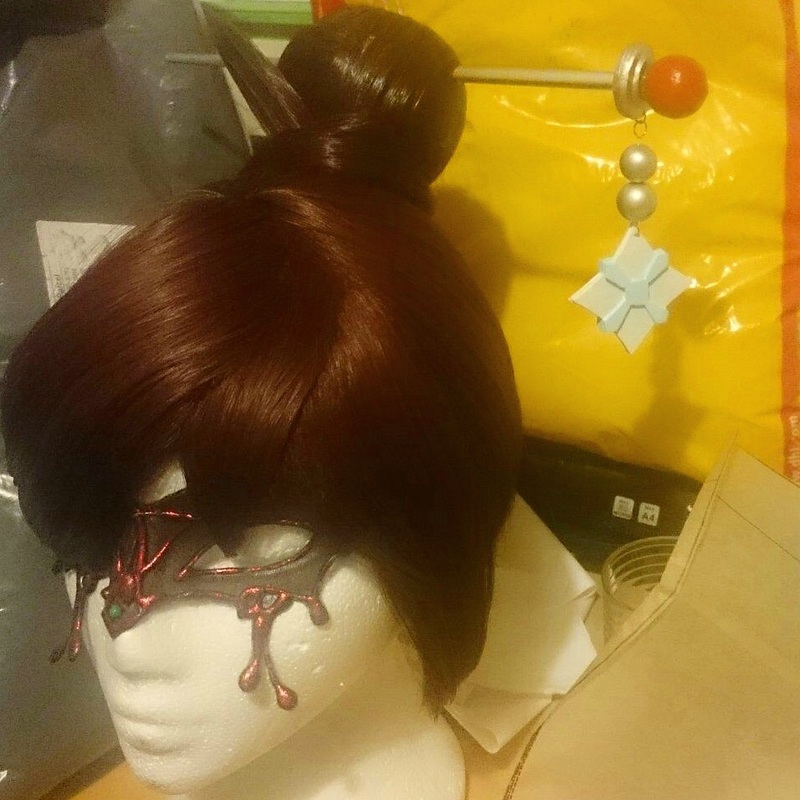 Thank you for reading!!
0 Comments
Leave a Reply. |
Hello!So many projects, So little time... Archives
January 2017
Categories |
 RSS Feed
