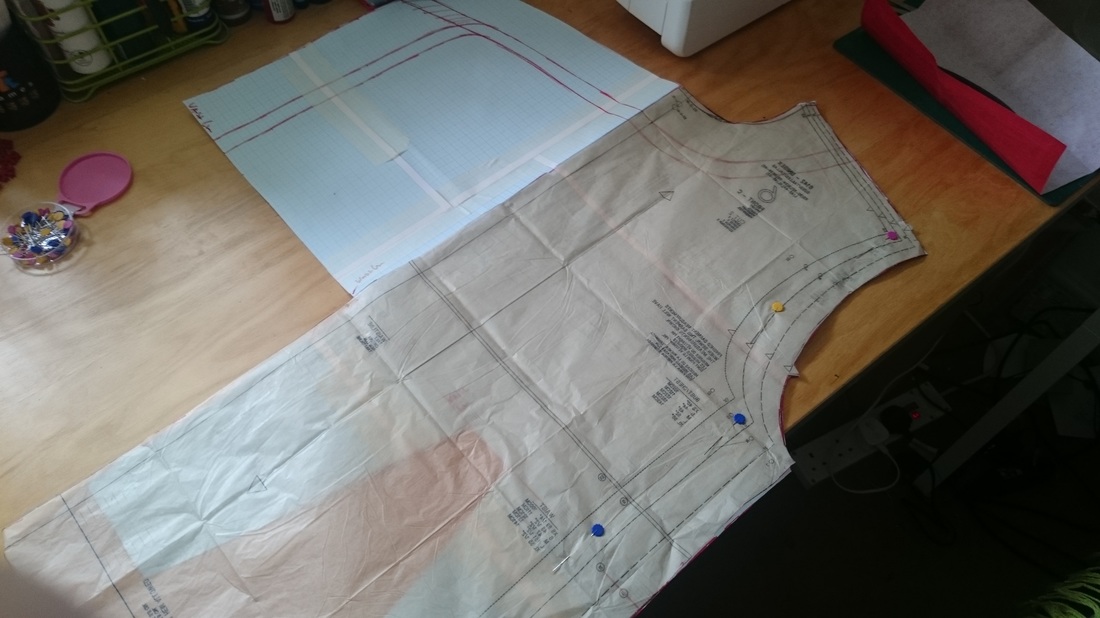
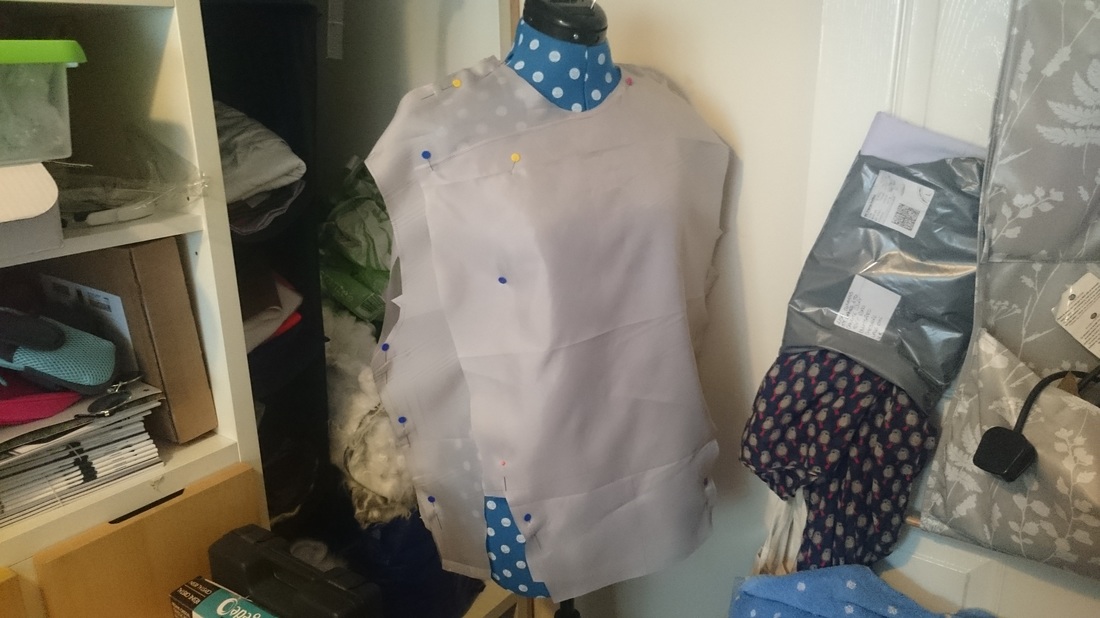
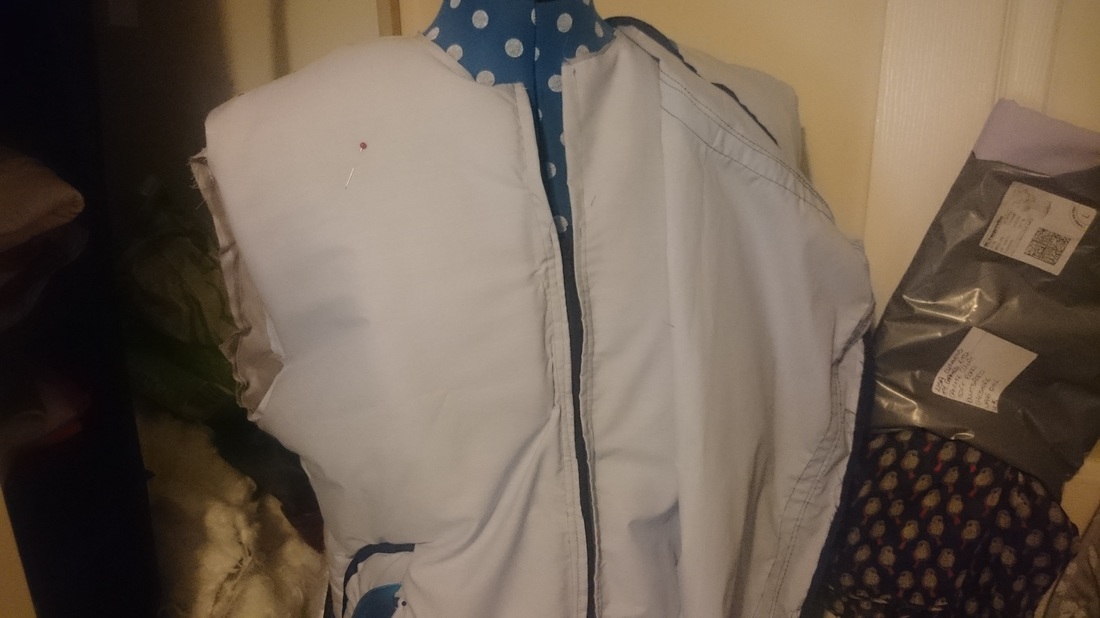
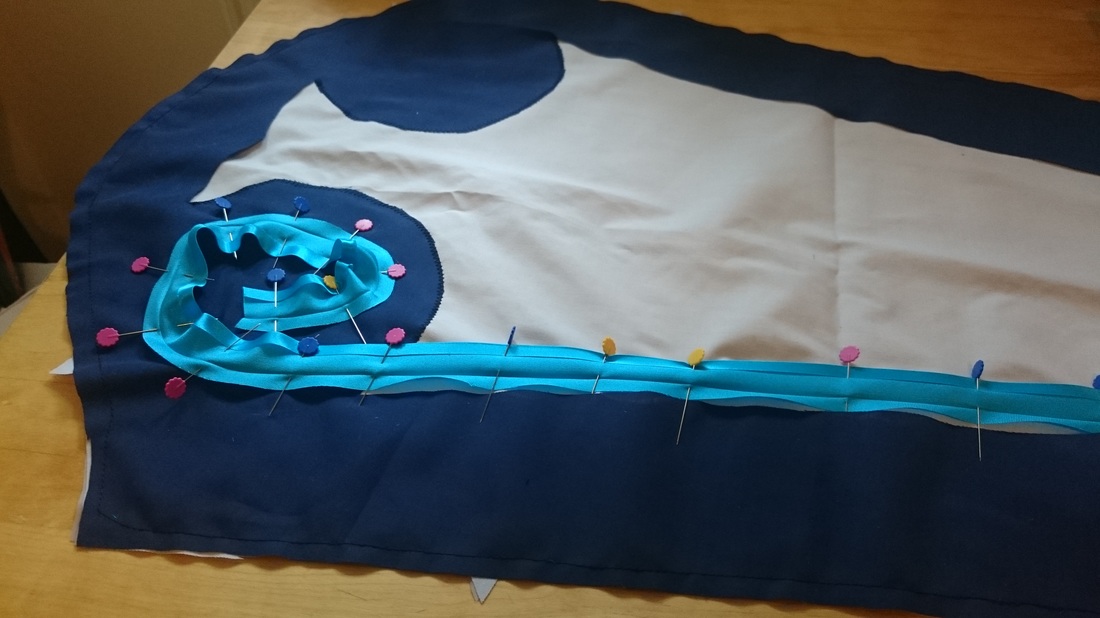
Before cutting anything with the proper fabric, I first made all of the lining to make sure the coat was the correct size. The Hoody pattern ended being HUGE, despite measuring at a medium size. So I tacked everything to my tailors dummy and was able to accurately get the length I needed. This also made measuring the flap across my chest a lot easier. Once my lining was correct, I was able to move onto the actual fabric. 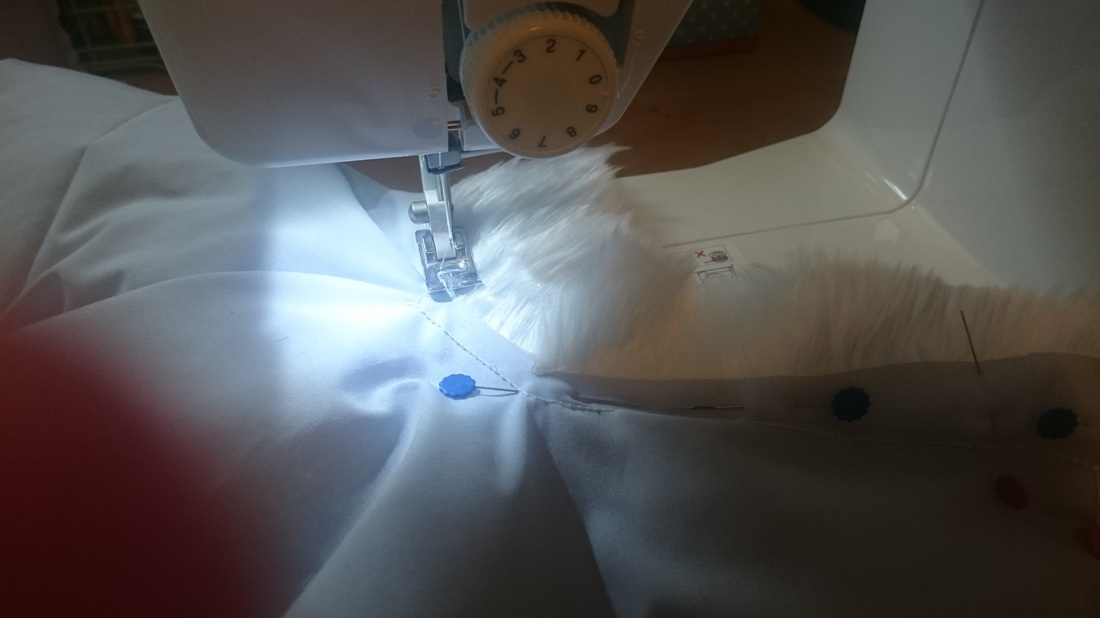 Onto the grey polycotton fabric, I began sewing on all of the faux fur trim. Thankfully my new sewing machine can power through fur no problem now. 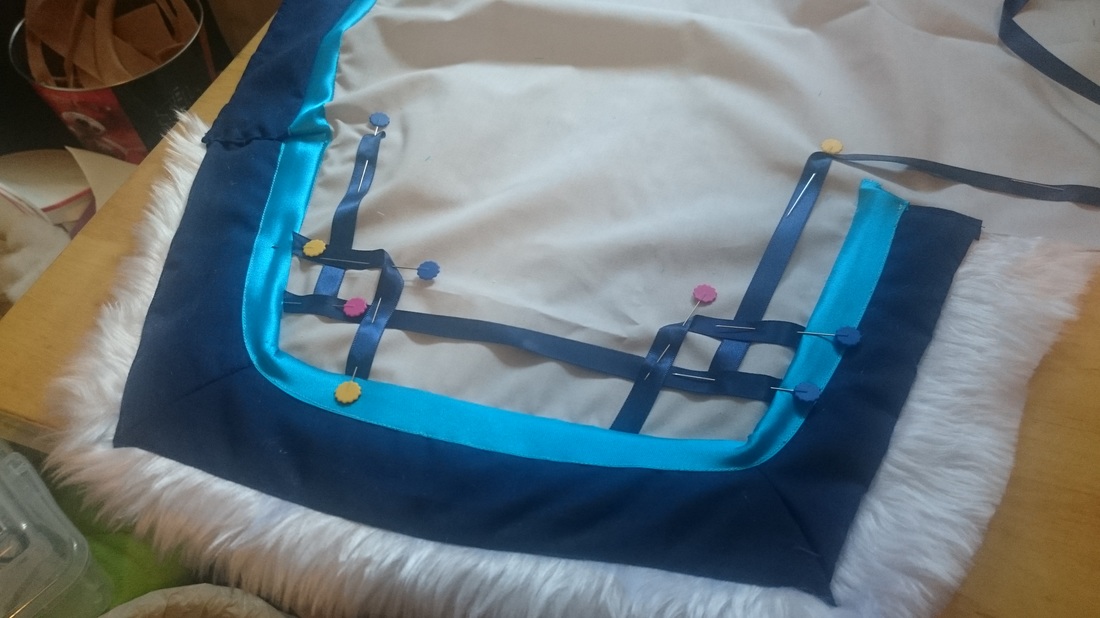 possibly the longest, faffiest part of the coat was meticulously sewing on the 3 different elements on the trim/flaps. I used blue polycotton to create my own bias binding (cutting strips, ironing down the edges and then sewing onto the material to get a nice neat edge), then topping with blue satin bias binding and then finally some navy ribbon. I was very happy with the end result 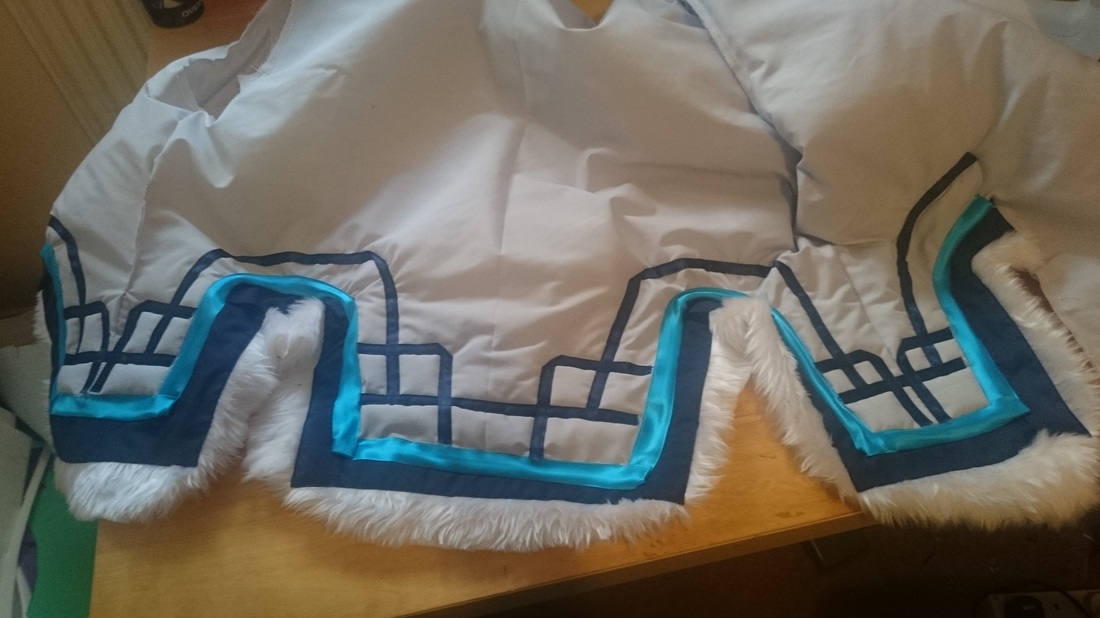
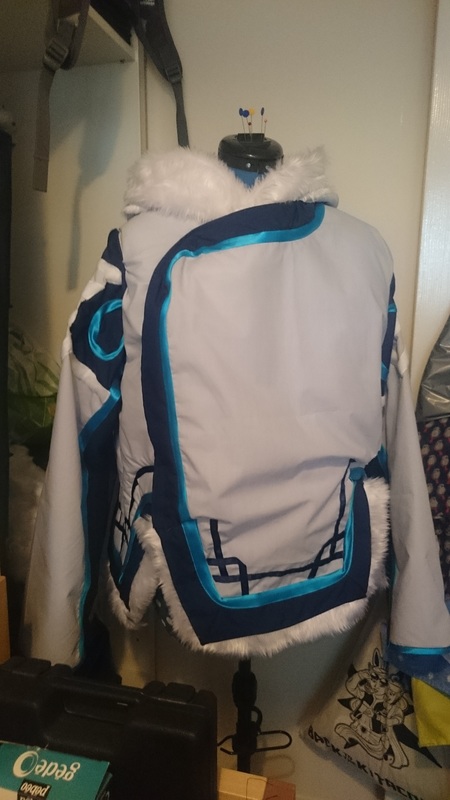
Thought not pictured, I sandwiched 4oz wadding in between the polycotten grey and the lining, to create a nice pillowy snow coat look. This of course made everything super bulky (; ̄Д ̄) Once all of the trim was installed, I implemented a zip into the front of the chest. This was nicely disguised by my custom front flap, which was held in place with velcro. Finally, the coat was getting somewhere.
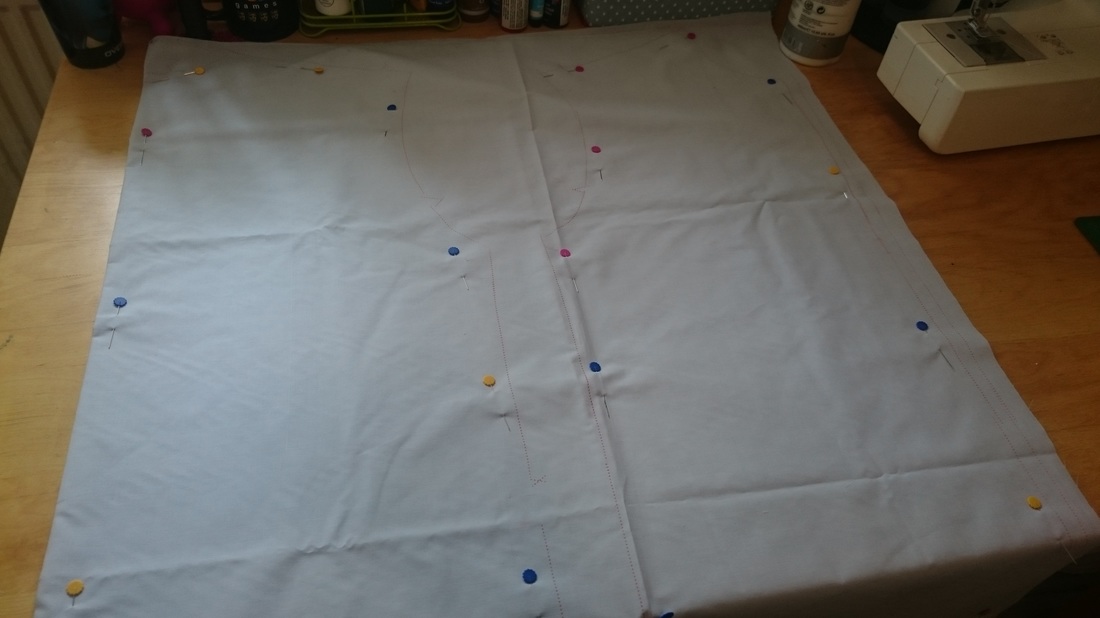
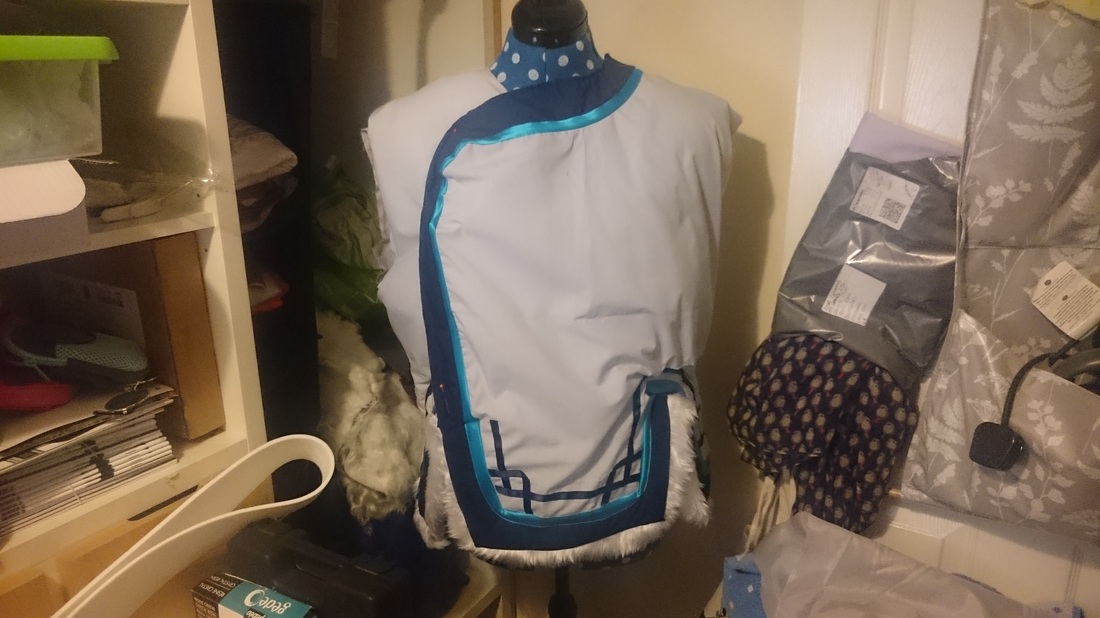
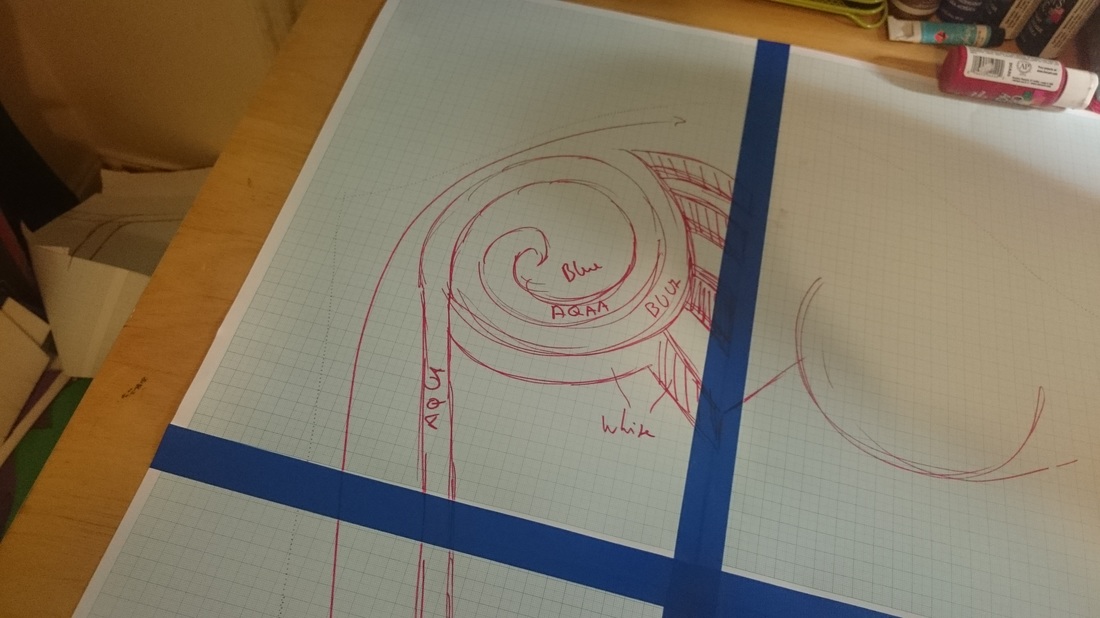
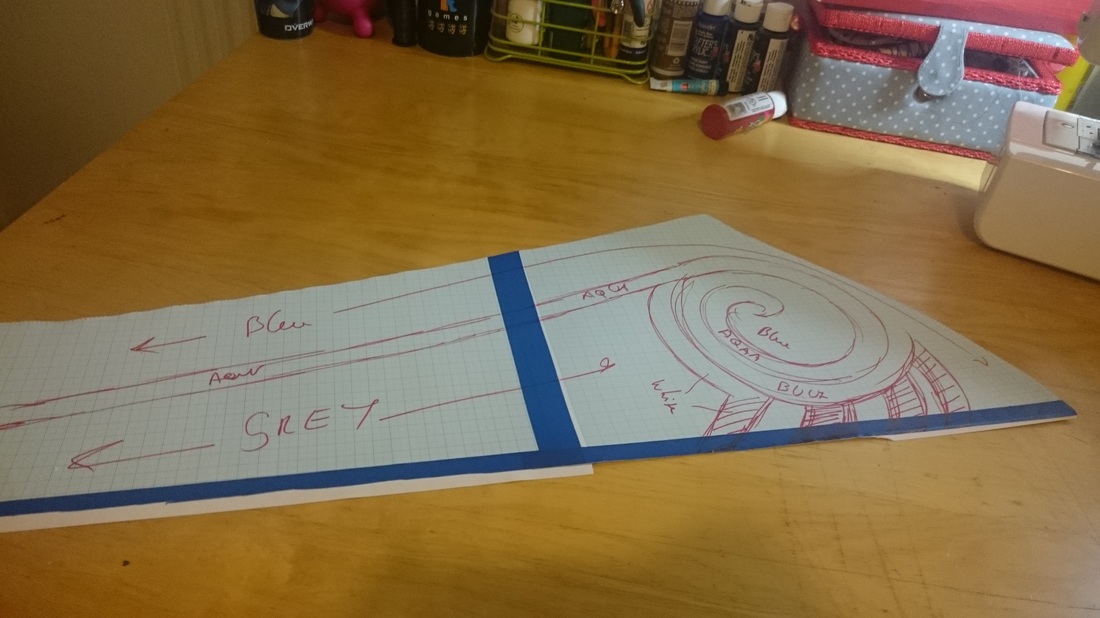
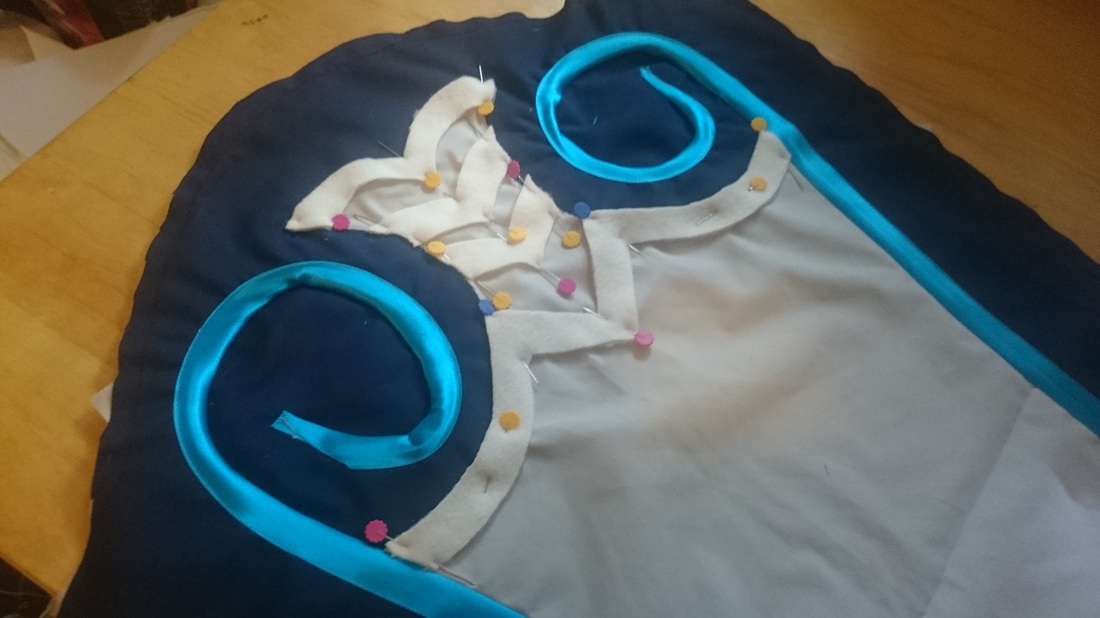
Onto the sleeves! using the same pattern for the hoody, I took the sleeve pattern and made a duplicate on graph paper to work out where I wanted the pattern to go. I then transferred, using tailors chalk and a tracing wheel, the pattern onto the sleeve fabric. 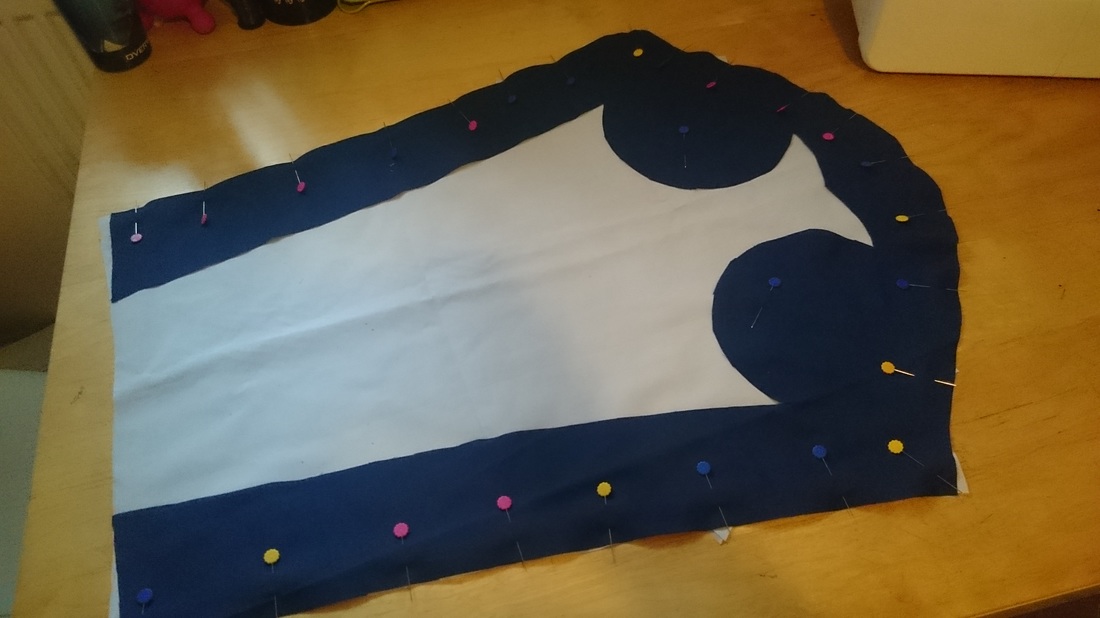 Thus began an afternoon and meticulous cutting and stitching to get the sleeves right. The blue was made with the same blue polycotton from before.
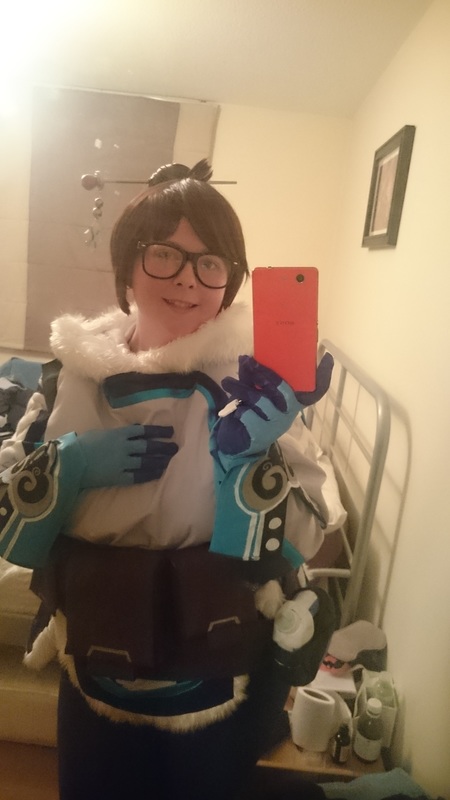
Then I followed with the same blue satin bias tape to create the swirl and finally some white felt. The felt was great as it doesn't fray and so could cut a nice clean shape. Plus the fuzziness added a nice winter texture. Needless to say, the sleeves could get stuffed. Onto sleeve number two! 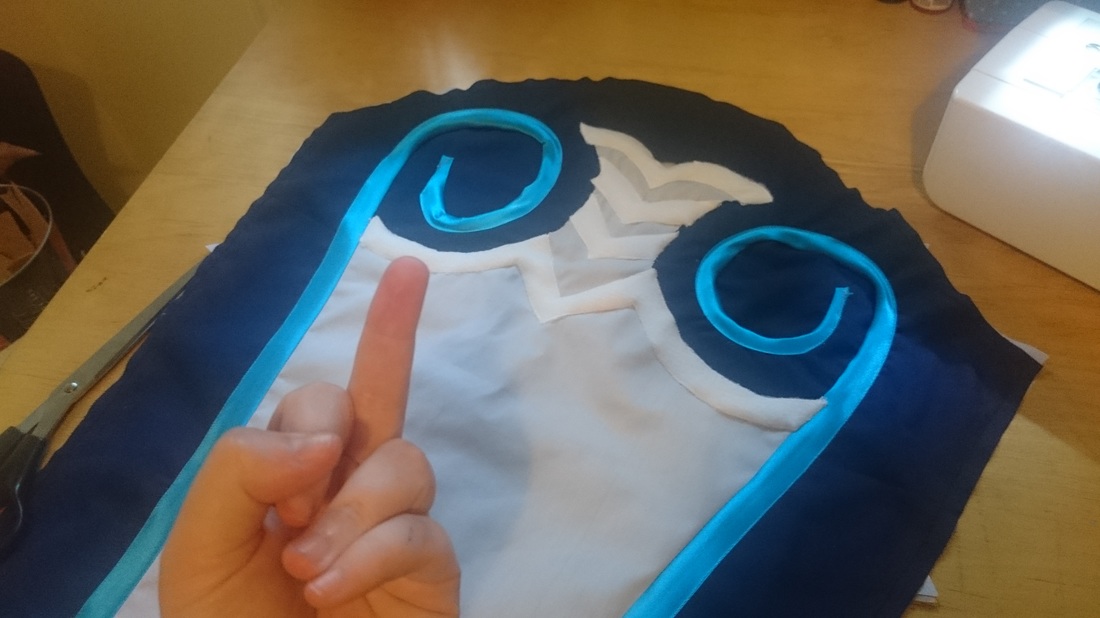 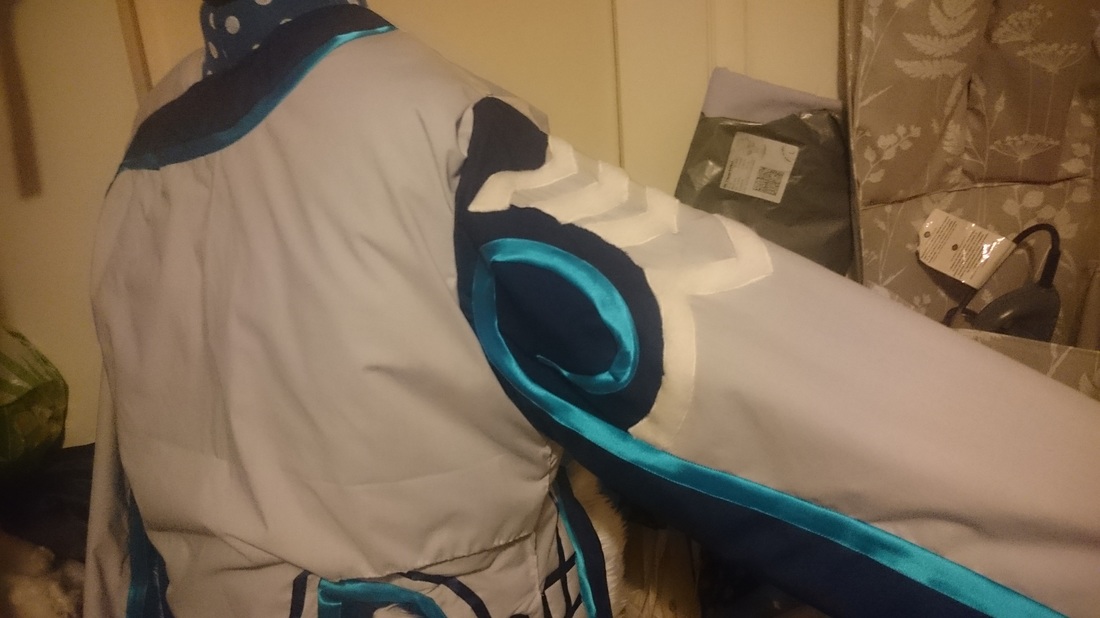 Once attached, I realised the sleeves were MAHOOSIVE on me and needed pinching onto my shoulder to raise it up. It wasn't too bad as I knew the tank straps would cover my shoulders anyway, so it wasn't too much of a problem. All I needed to do now was add the hood (which was simply cut and sew the 2 parts together and add fur) and the coat was done! To create the fluffy collar look, simply sew a strip of fur along the hood longer than the actual hood itself. Then when you've sewn the hood on, tuck the excess fur behind the front flap to create a faux furry collar. 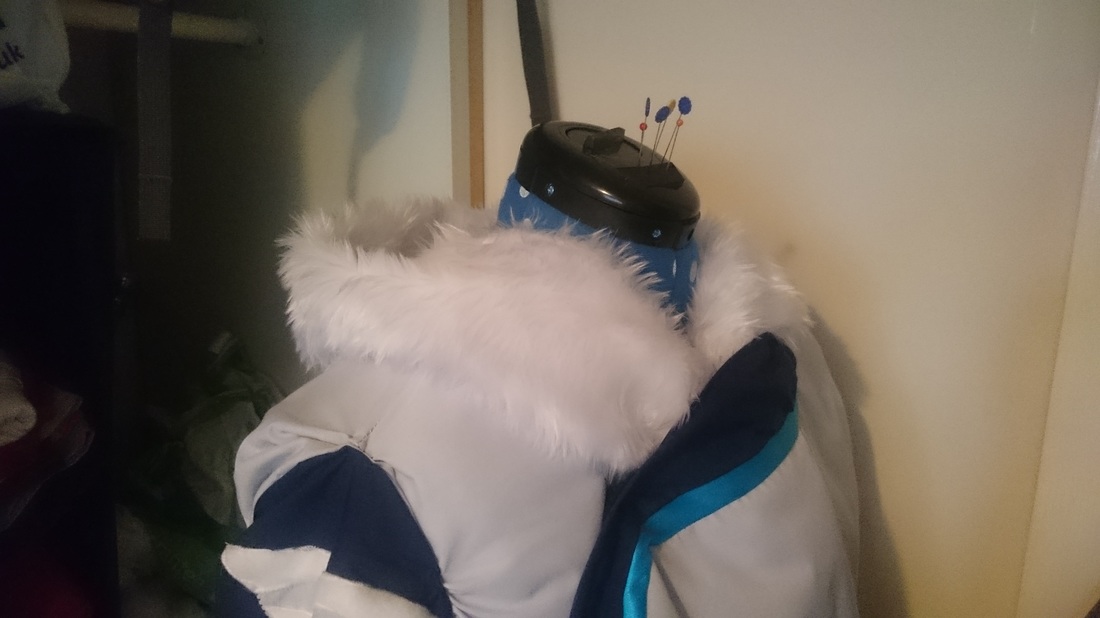
Thanks for reading!Really hope you find this useful at all lol Its my first time making such a detailed coat :D
Hopefully I'll get more tutorials on here soon. ta for now Lisa xx
4 Comments
Angela M. TRENCHIK
8/12/2017 08:40:15 am
Holy cow You did a wonderful job. My daughter wants this costume and your tutorial will make my job so much easier. Thank you so much for taking the time to document and post it.
Lisa C
8/14/2017 01:26:17 am
No worries hun, hope it helps :D
Calissa
11/6/2018 02:25:29 pm
Taking on her Pumpkin skin, wich is really just a recolor and this is SUPER helpful. Thank you so much for taking the time to post a tutorial, it really helps so much♡
lisa
11/7/2018 12:10:27 pm
ahhh thank you! So glad its helping :D Leave a Reply. |
Hello!So many projects, So little time... Archives
January 2017
Categories |
 RSS Feed
